Algolia
This document will explain how to enable Algolia with the Next.js Wordpress Starter.
Prerequisites
You will need to have the following WordPress plugins installed:
These plugins should have been installed when you ran
composer installduring the initial Backend Setup.
Backend Setup
Create an account with Algolia
Before you can complete this step, you need to sign-up for a free account at Algolia.com.
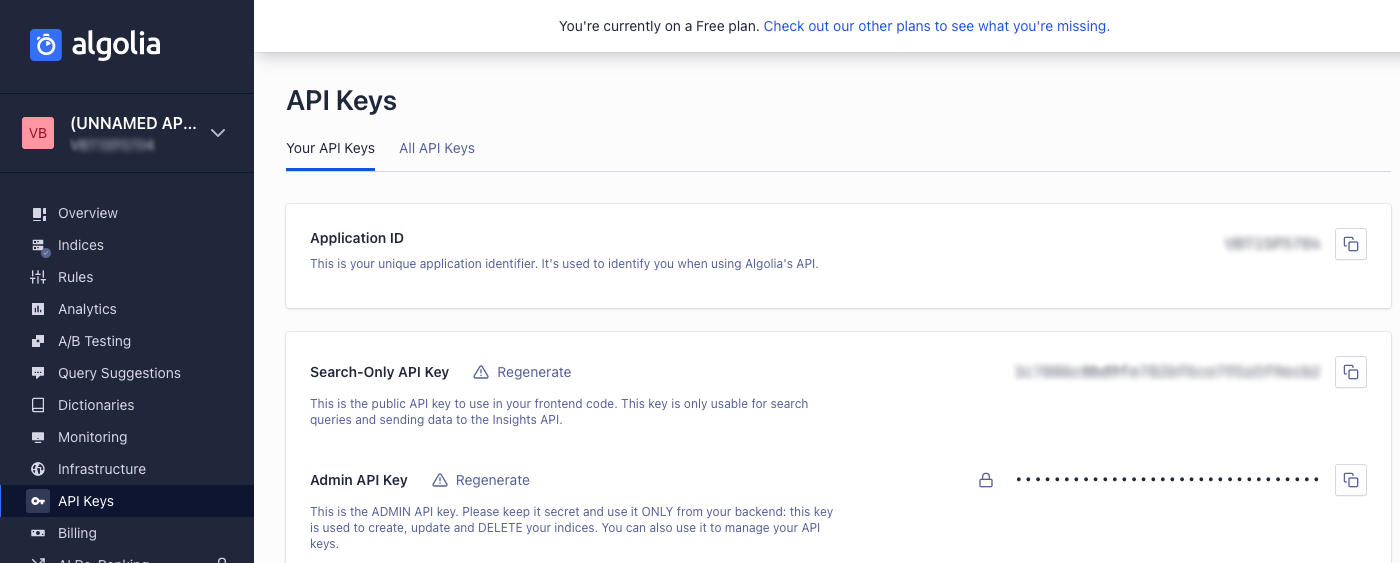
After you sign up for an account, create a new "app" and then click on "API Keys".
Configure credentials
Copy your API keys into the WP Search with Algolia Settings Page:
Algolia Search --> Settings
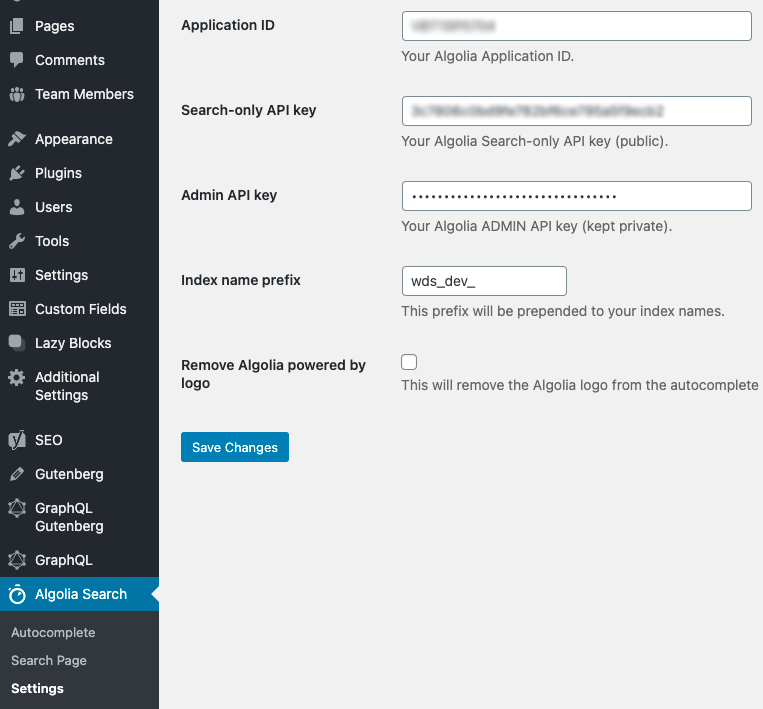
You can name the Index name prefix to whatever you'd like.
Push Content to Algolia
- Navigate to
Algolia Search --> Search Page - Click the blue button to
"Re-index search page records"
Frontend Setup
API Connection
Algolia integration relies on three ENV Vars to populate required Algolia variables. These variables are required to access and maintain the connection to Algolia.
- Index Name: This is the full name of the index to search and pull records from.
- Application ID: This is your unique application identifier. It's used to identify you when using Algolia's API.
- Search Only Key: This is the public API key to use in your frontend code. This key is only usable for search queries and sending data to the Insights API.
Both Application ID and Search Only Key can be found under Dashboard > API Keys in your Algolia account.
Once successfully connected, both site search and search results will be populated from your Algolia indice.